Dockerize your App
Containerize your app to make it available via a public Docker link.
This page details the process of containerizing your app and configuring your template ahead of submitting the template to enable it to be deployed at-a-click from NodeOps Cloud Marketplace, with video and step-by-step guides.
Prerequisites
- Unix environment
- If required: enough bandwidth for Docker app download (>500 MB)
- App to containerize
Set up Docker
Step 1. Set up locally
If you have an existing account, skip to the next step.
- Open the Docker app on your local machine, or download it at docker.com/get-started.
Show me steps
See full steps if download and setting up account:
- Accept Ts&Cs
- Use recommended settings
- Enter system password
- If required: create account
Step 2. Create personal access token
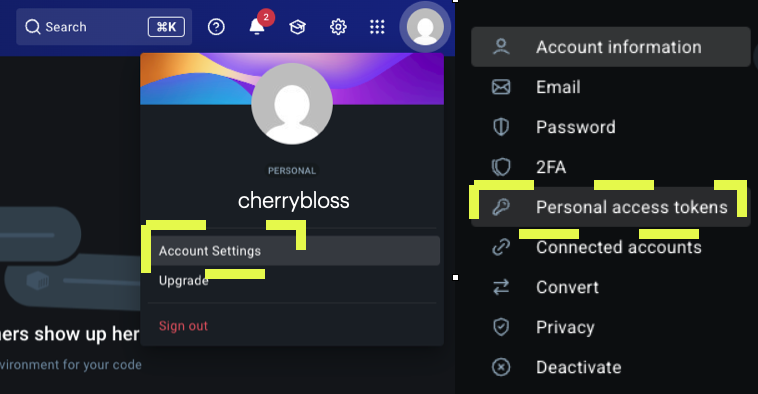
- Signed in to Docker Hub, navigate to your profile (top right), and click Account Settings.
Show me
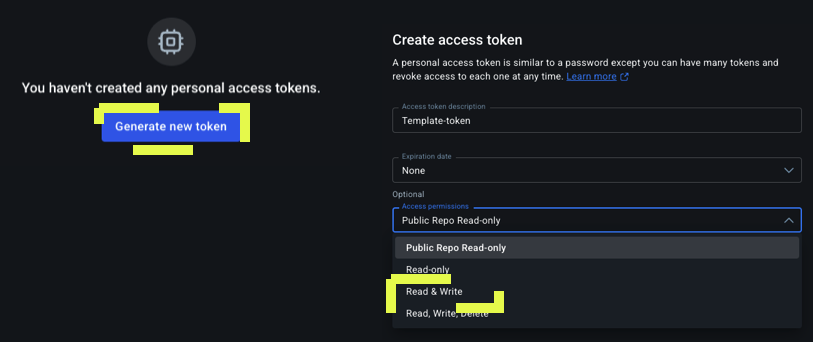
- Click Generate new token and give your new Personal Access Token (PAT):
- Description
- Expiration
- Read and write access
Show me
Step 3: Run Docker
- With Docker Desktop running on your machine, open a terminal window and enter:
docker login -u {your username}
- Respond to the terminal prompt for your Docker Hub PAT copied previously.
Step 4. Containerize your app
In order to publish a Docker image of your application, your app must have a Dockerfile.
A Dockerfile defines the blueprint to build your Docker image. It specifies the base image (such as, python:3.9 node:18), details how to install dependencies, specifies how to copy your app’s code into the image, and the command to run your application when the container starts.
# Use Node.js LTS version
FROM node:20-slim

# Create app directory
WORKDIR /usr/src/app

# Copy package files
COPY package*.json ./

# Install dependencies
RUN npm install

# Copy app source
COPY . .

# Expose the port the app runs on
EXPOSE 3000

# Command to run the application
CMD ["npm", "start"]
Step 5. Publish to Docker Hub
- Logged in to Docker, create a Dockerfile in your app's root directory. Build the image with:
docker build -t {yourusername/yourappname} .
User cherrybloss who has developed the blossom app would run:
docker build -t cherrybloss/blossom .
- Build and push the image to Docker Hub with:
docker build -t your_username/template_name:version . --push --platform linux/amd64
Explain command
| Part | Meaning |
|---|---|
docker build | Build a Docker image |
-t your_username/template_name:version | Tag the image (with your Docker Hub username, a name, and a version) |
. | Use the current directory (where the Dockerfile is) |
--push | Automatically push the built image to Docker Hub after it's built |
--platform linux/amd64 | Build the image for the Linux/AMD64 architecture (ensures compatibility on Cloud or Linux servers) |
What next?
- Call your Docker image from a template
- Submit the template to NodeOps Cloud Marketplace
- Learn about the Template schema
- Update your Docker image:
To push out an updated version of your NodeOps template, push a new tag to your Docker image with the command:
docker push {username}/{template)name}:tagname
Then, from the NodeOps Marketplace console, navigate to My Templates and select your template, update the YAML version number and submit for re-review.